How to Install Java Eclipse on Windows 10
This tutorial guides you on how to install Oracle JDK and Eclipse on Windows 10 Machine. For system requirements to install JDK on Windows please check this link Oracle JDK Certified System Configurations. For Eclipse installation let's use Eclipse installer 2020-06 R , a new and more efficient way to install Eclipse.
Install JDK on Windows 10 and set path
Following are the steps to download and install JDK SE 11 (LTS)software on Windows 10.
Step 1: Download JDK from the following link Java SE Downloads. I chose Java SE 11 (LTS), then clock JDK Download link
Step 2: Then choose Windows x64 Installer (jdk-11.0.8_windows-x64_bin.exe)
Step 3: Review and Accept
Step 4: Once download is complete, run the .exe installer to install JDK on Windows 10 machine.
Step 5: While installation it will ask you to choose PATH for the Java JDK installation ( C:\Program Files\Java\jdk-11.0.8 )
Step 6: Once installation is complete, click close. You are done with the installation
Step 7: Now you need to set environment variables i.e., update path environment variable to set Java path.
- Use Windows 10 search, type "environment variables" -> Select "Edit the system environment variables"
- Go to System Properties -> Advanced tab -> Environment Variables
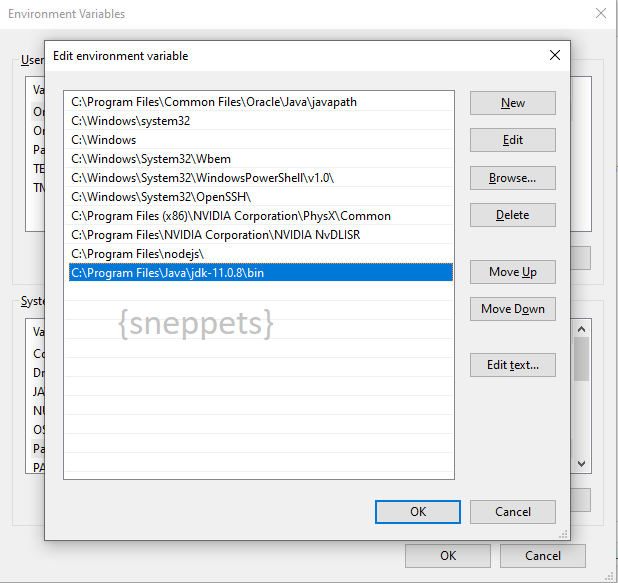
- Under System variables choose Path variable and click "Edit"
- Then copy the path of bin folder of your JDK installation (i.e., " C:\Program Files\Java\jdk-11.0.8\bin ") and paste as shown below.
Step 8: You can type the following java command from command prompt to verify your JDK installation on Windows 10.
Microsoft Windows [Version 10.0.18363.693] (c) 2019 Microsoft Corporation. All rights reserved. C:\Users990>java -version java version "11.0.8" 2020-07-14 LTS Java(TM) SE Runtime Environment 18.9 (build 11.0.8+10-LTS) Java HotSpot(TM) 64-Bit Server VM 18.9 (build 11.0.8+10-LTS, mixed mode)
That's it. JDK is installed on Windows 10 machine successfully.
Install Eclipse on Windows 10
Follow the 5 steps below to install eclipse on Windows 10 machine. As I said earlier we are going to use recently introduced Eclipse Installer 2020-06 R. This method is new and more efficient way of installing Eclipse on Windows 10.
Step 1: Download the Eclipse installer
Step 2: Start the Eclipse installer executable.
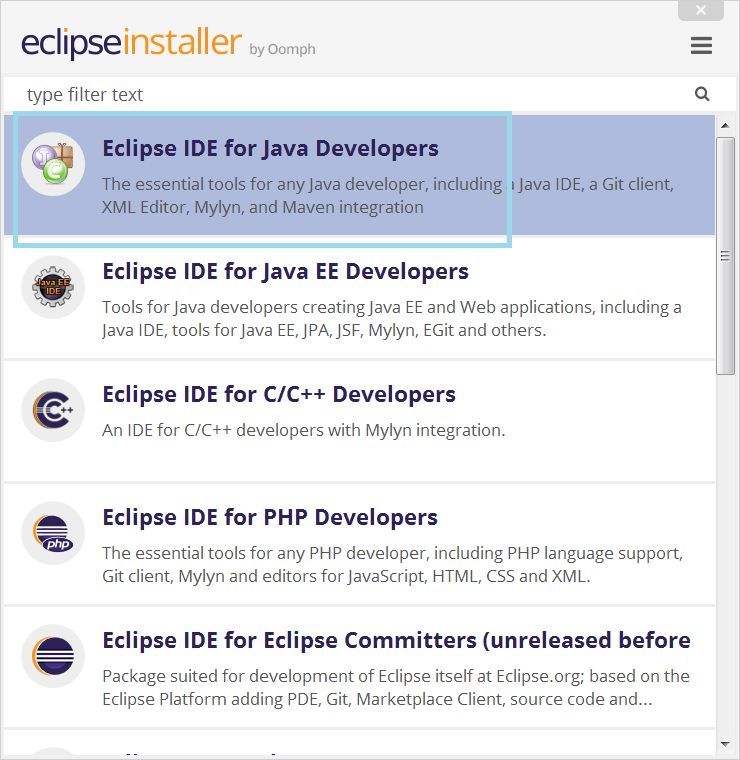
Step 3: Once you start the installer, you would see the following screen which shows the list of available packages. You can search the required package that you want. I chose " Eclipse IDE for Java Developers "
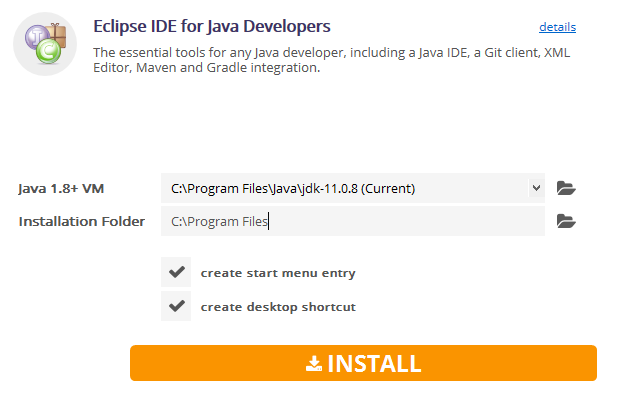
Step 4: Then select your installation folder as shown below. Note, we have installed JDK in our previous section. Therefore Java Runtime is automatically chosen or pointing to the path "C:\Program Files\Java\jdk-11.0.8 (Current)".
Step 5: Once the installation is complete, you can launch eclipse and start writing Java code. The Eclipse Installer has done everything for you :-).
You have successfully installed JDK and Eclipse on Windows 10. Hope it helped 🙂
Also See:
- Visual Studio Code install location and Path issues from Terminal
- Change Terminal from powershell to cmd in VS Code
- Set Windows PowerShell Environment Variables
- Deploy an Application to Kubernetes running on Google Cloud Kubernetes Engine (GKE)
- The Java Collection Interface and Examples
- SSH Connection Error "Host key verification failed"
- How to unzip a zip file from Terminal (Google Cloud Shell)
References:
- eclipse foundation
- JDK Oracle
How to Install Java Eclipse on Windows 10
Source: https://www.sneppets.com/software/how-to-install-jdk-and-eclipse-on-windows-10-machine/